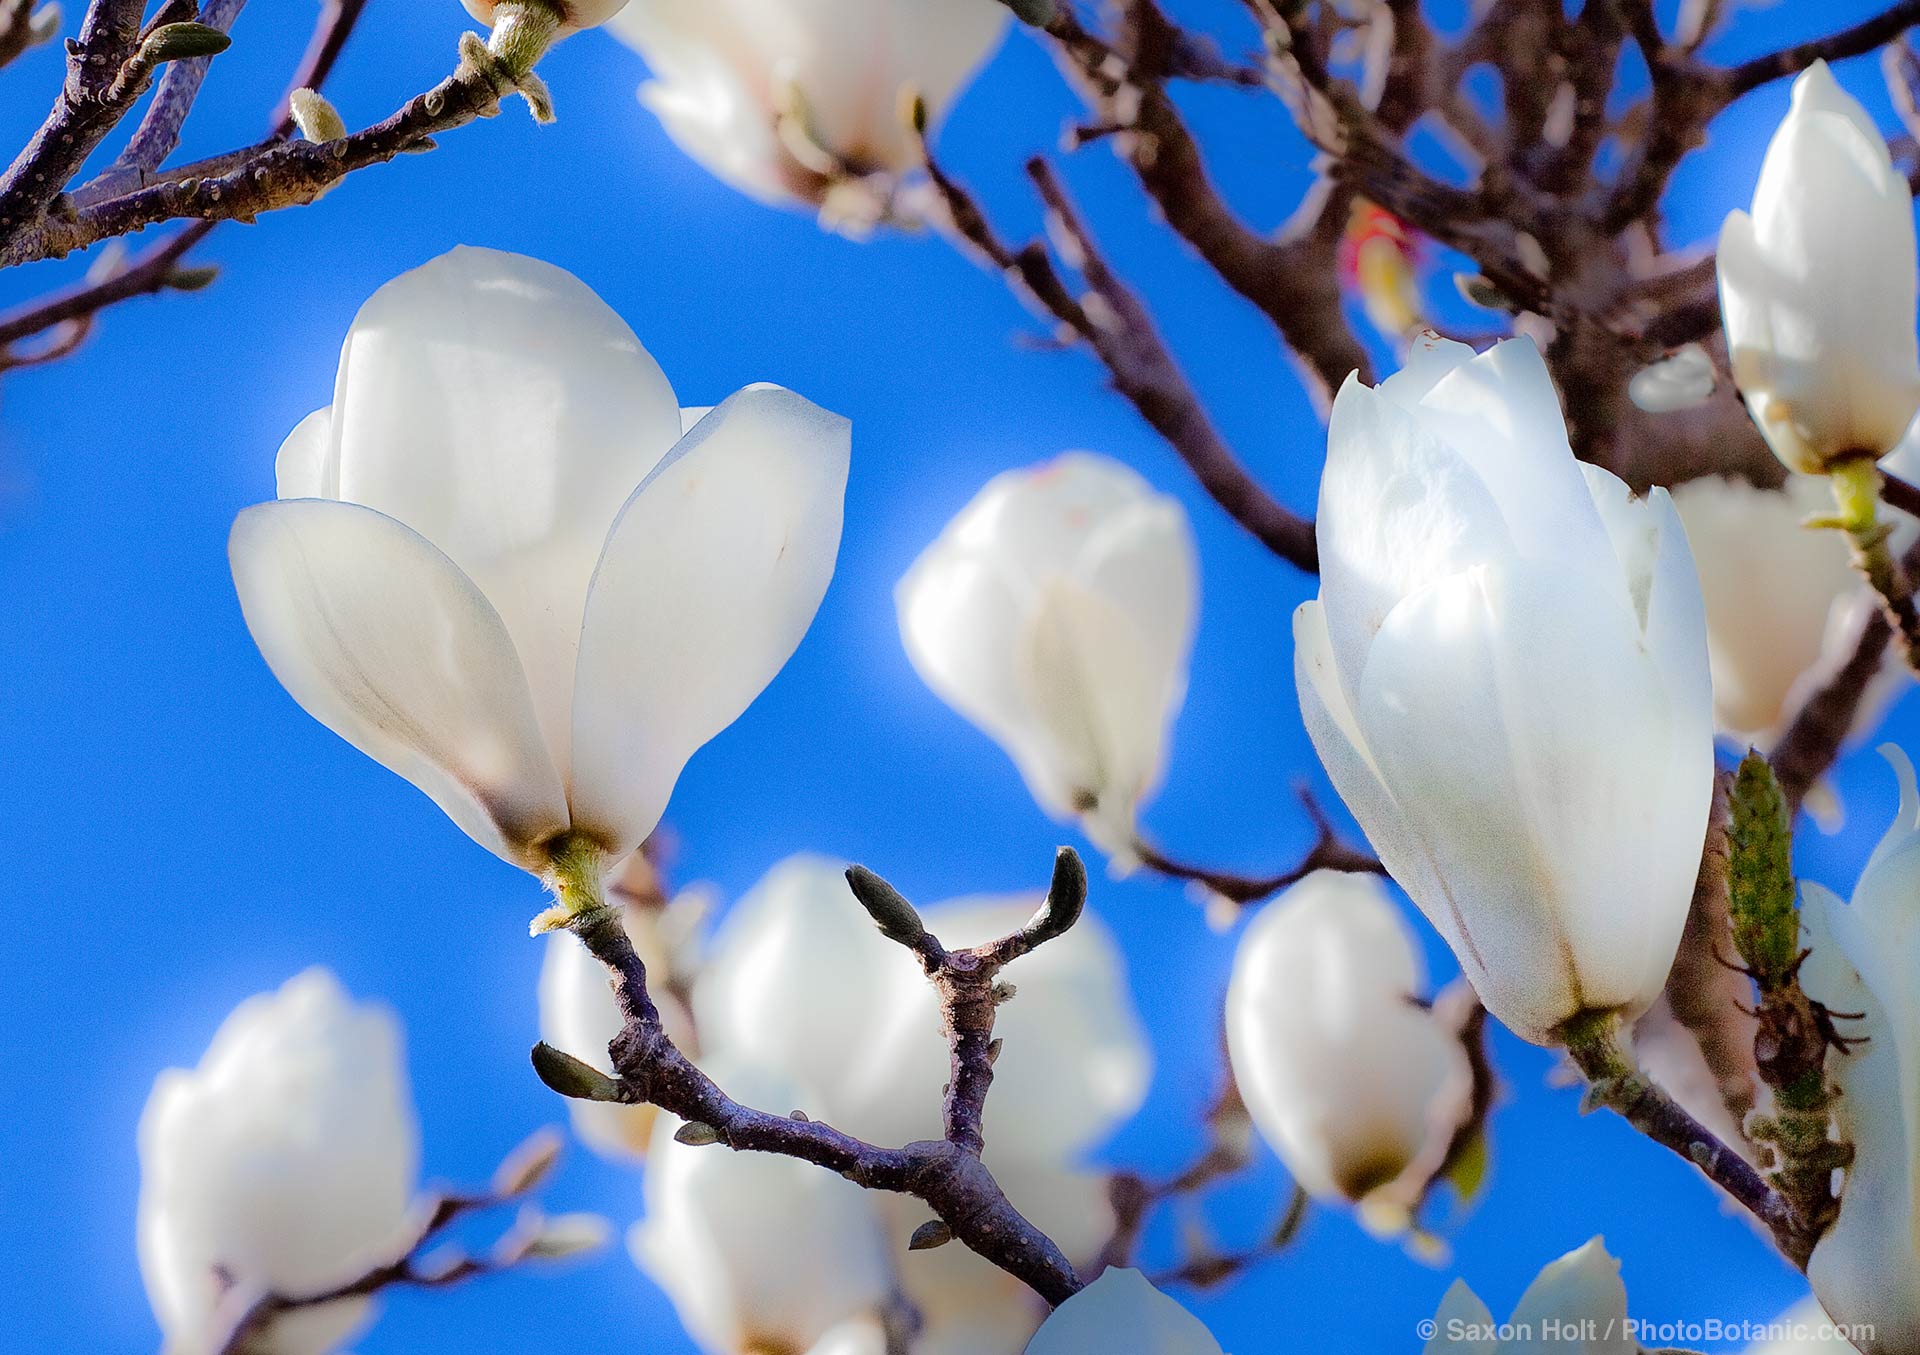
A recent assignment took me to a very special magnolia in a very special, private garden. The resulting photo was to be a surprise gift, and I was only allowed access during one afternoon when the owner was away.
I previously wrote about this adventure on Gardening Gone Wild blog but did not go into much detail on how I decided to interpret what I found. I will do this here, in Mental Seeds, where I allow myself to explore new avenues of photography, mostly personal, and mostly initiated by new perceptions I have had since my eye surgeries. (Eye surgeries from my detached retina November 2010. Details in previous posts)
I still see lots of blurs; let’s call it a ‘glow’ for this exercise. For interpreting this photo I played with new digital techniques. I almost said ” new digital trick” but in truth, I really feel I am not tricking but interpreting.
Trying to find a photo that tells a story of the magnolia on that bright sunny day meant working with the sun, not my favorite light. It meant working with what the garden could give, and recognizing that whites comes clean in sunlight. Hmmm, what might work ?
An interpretaion was in order. I would make a blurry glow. Here is the original frame, contrasty and raw.

Then using Bridge (Photoshop CS6) in Adobe Camera Raw I cropped the photograph so that I could fill the frame with just the right composition.

Working with the tools, I adjusted all sorts of things: added fill light, adjusted light and dark levels, tweaked the blue, but the most dramatic effect was moving the Clarity filter to minus 100, which gives the diffuse glow. Too diffuse in some areas, but then solved by adding some black.

I really felt I was on to something. But as I studied the photo I realized the spot of yellow became too prominent and the branch across the upper right was a confusing and unnecessary element. I needed to unleash the full power of Photoshop:

Same photo but now in the PhotoShop window. Note I opened a new layer, really important whenever you want to make adjustments, which I named here: ‘remove branch’.
Now clone tool to the rescue. The real trick of using the clone stamp tool is to use it like a brush, smaller than the area you want to affect; and when selecting the area to clone out, be sure to replace it with selections very near for color match. AND go back and repeat, in effect blending the blend. Of course when you are working in an area that is soft and out of focus, there is lots of leeway since no-one will ever notice if you screw up a bit.

Removing the yellow blob, still in Photoshop, was done by going to the tool bar: Image > Adjustments > Hue/Saturation > Yellow and remove about 80% saturation. Then using the erasure tool I put back some of the yellow highlights (erased the adjustment) in places like the underside of the blossom in the far right. Voila.

Magnolia cambellii ‘Strybing White’
I debated inside myself if I really liked the obvious glow, which is most noticed around the edges of the more out of focus flowers, but it reminds me that I do see things blurry. Interpretations in my work.
As an added bonus to this lesson, a different way to interpret: silhouettes. I do love botanic illustrations. I call them PhotoBotanics. Much, much fun in using the Topaz Simplify3 tool to mask a photo and get to a flower’s essence.

Magnolia cambellii ‘Strybing White’
Original:

Details one day if anyone is interested in another lesson….